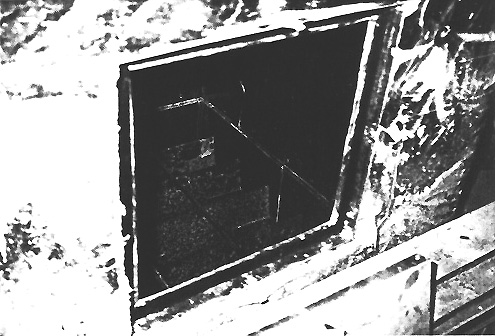
Automatic Valve
Next Image
Back to page 11.13 Photos II
 Next
Image Back
to page 11.13 Photos II
Next
Image Back
to page 11.13 Photos II